Photographers
Creating Photography Project
Overview:
ClikNview makes it seamless to deliver photographs to your client or to collaborate in cases where you need some feedback.
Instructions:
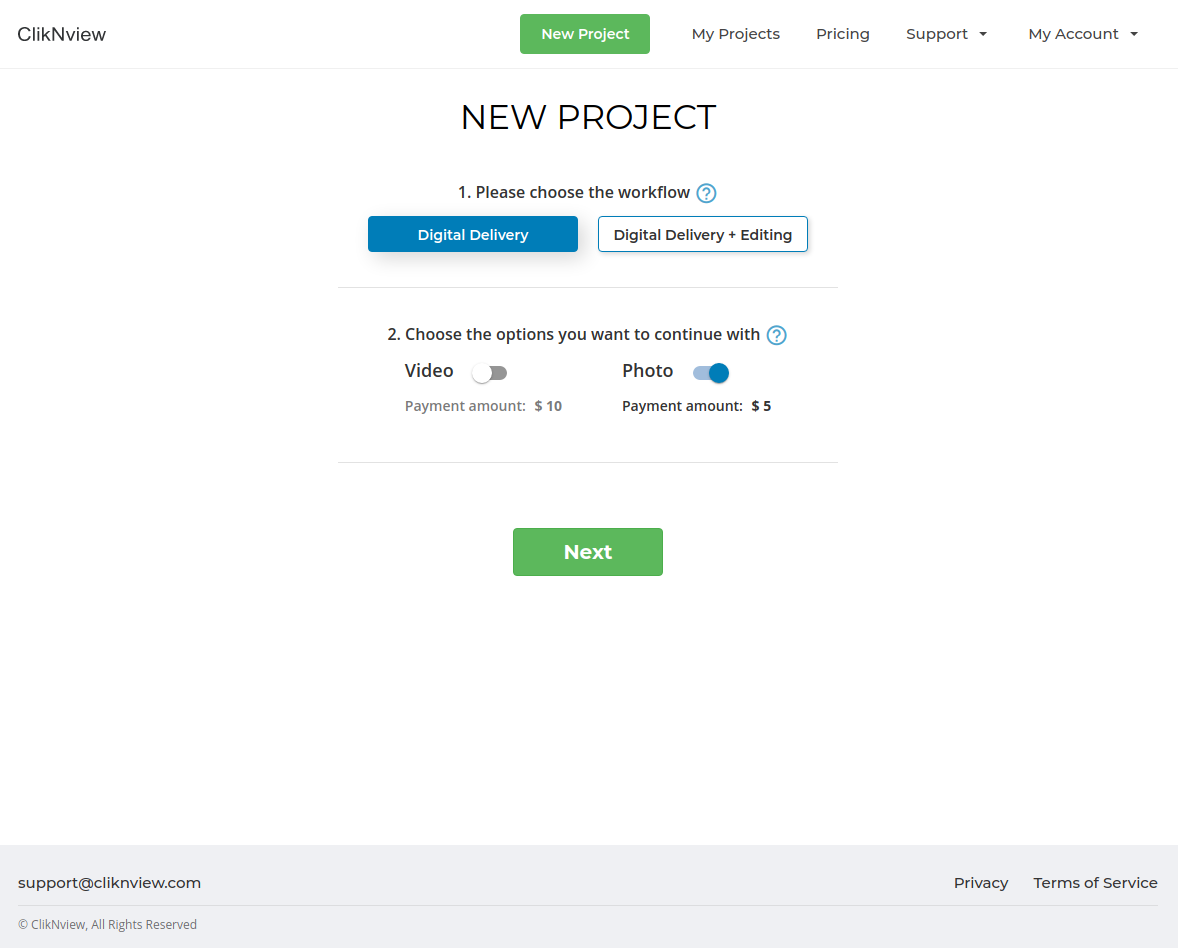
For projects where you've already wrapped up (i.e., don't need any feedback from your client) and just need to deliver the photos, select Digital Delivery.
For some projects, you need input from your client regarding their photos. For instance, you may need them to select photos for print or you may want to send album layout over for review. In these cases, select Digital Delivery + Editing.
In both cases, toggle on the Photo option below to turn on the photography features.
Follow the steps outlined in the Getting Started page to complete project creation. After it's created, you will be taken to the project summary page.
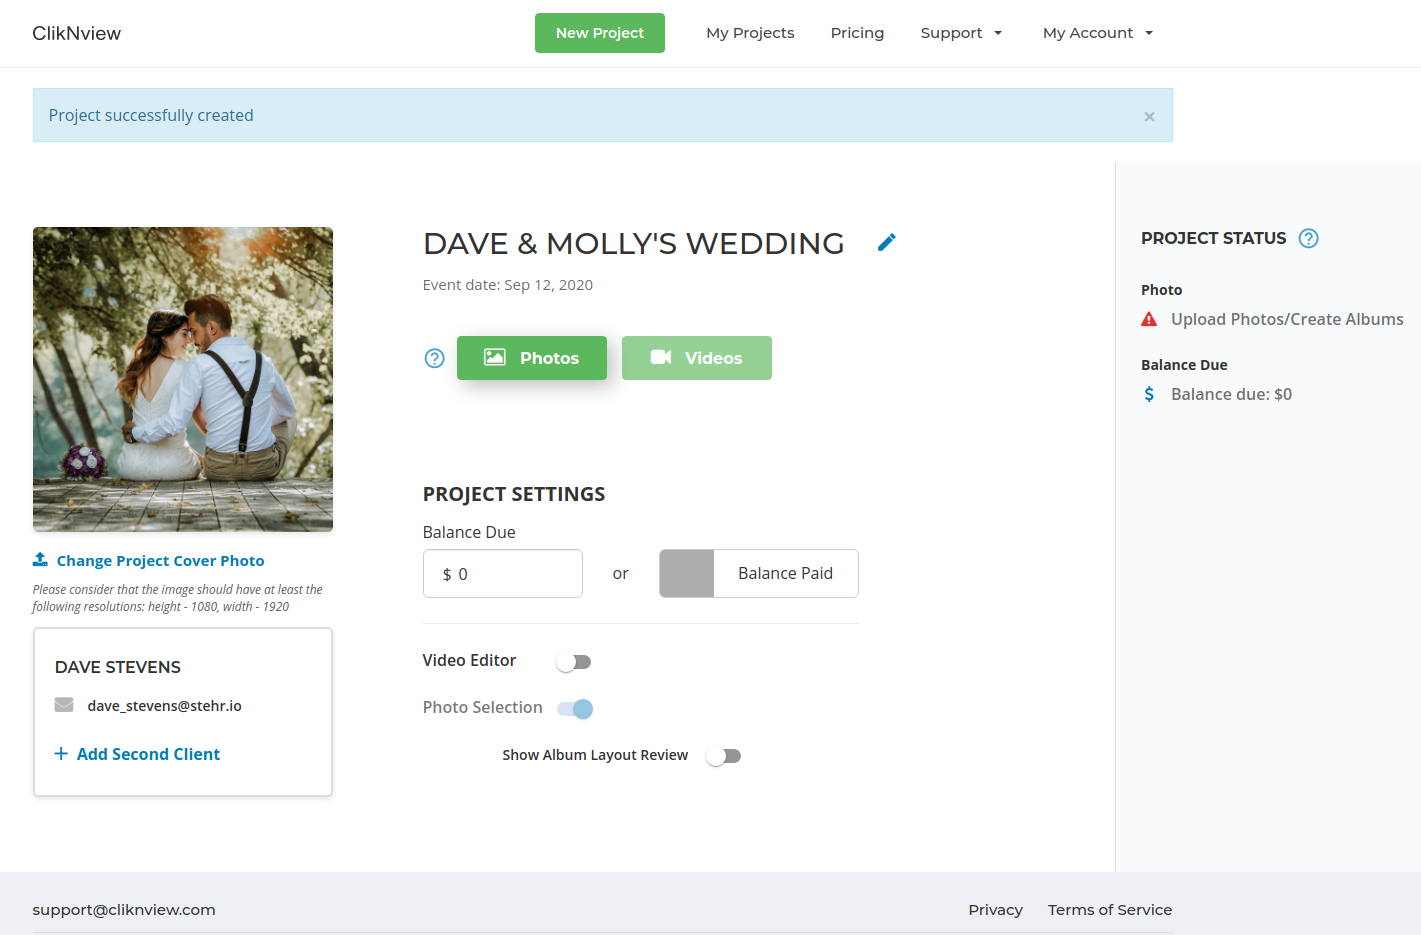
Photo Selection
Overview: For some projects, you need input from your clients regarding their photos. For instance, you may need them to select photos for print or you may want to send album layout over for feedback. In these cases, you want to select Digital Delivery + Editing during project creation.
To enter the Photos page from the Project Summary page, click the

There are a number of important components on the Photos page. We will go through each of them in detail.
-
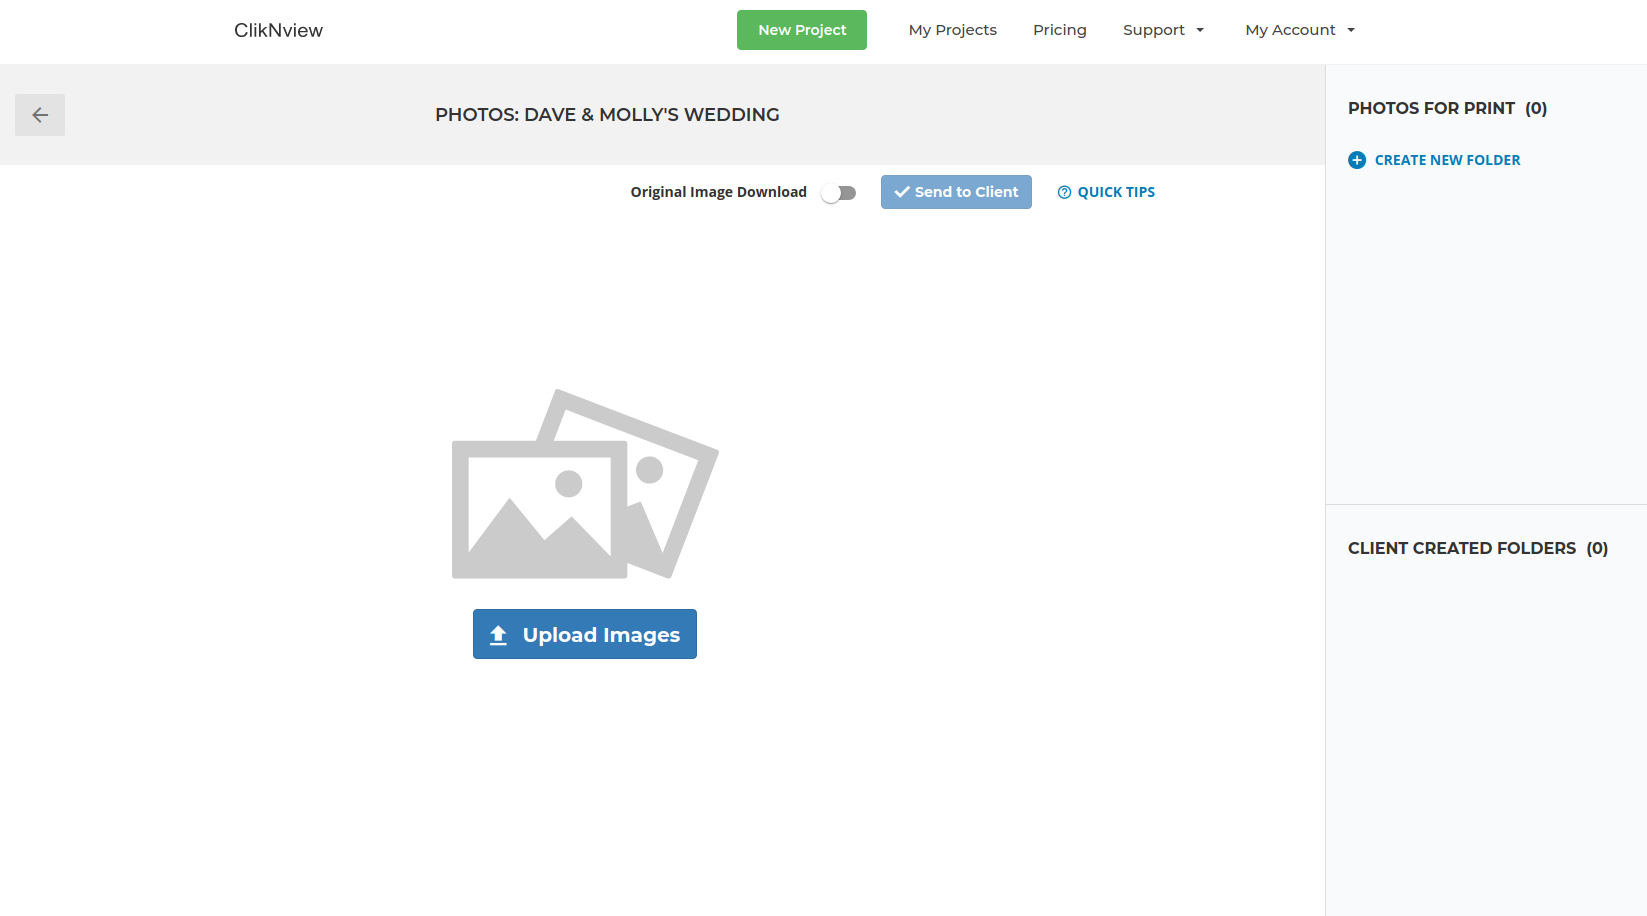
Use the
button to upload photos. In the pop-up, you will have an option to add a tag to all the files uploaded in this batch. This is sometimes useful to keep track of which folder on your local drive the photo corresponds to. Feel free to leave it blank if you don't have a meaningful distinction between the photos you're uploading for the given project. Use the
 to choose the files to upload.
Note that the file selection dialog will only allow you to select photos from a single folder. If the photos for your project are split across folders, you will need to repeat this process to cover all the files. Thankfully, you don't have to wait until the previous upload is complete before selecting the next batch of files to upload. The upload may take several hours, depending on the combined size of the files and upload speeds. For details, see the FAQs page. Note that if the upload is interrupted for whatever reason, you can pick up where you left off by selecting the same files. ClikNview supports resumable uploads so the uploaded content is not lost.After your photos are uploaded, you may see a spinner in the browser for an extended period of time. This is normal and means your photos have been successfully uploaded and are being processed.
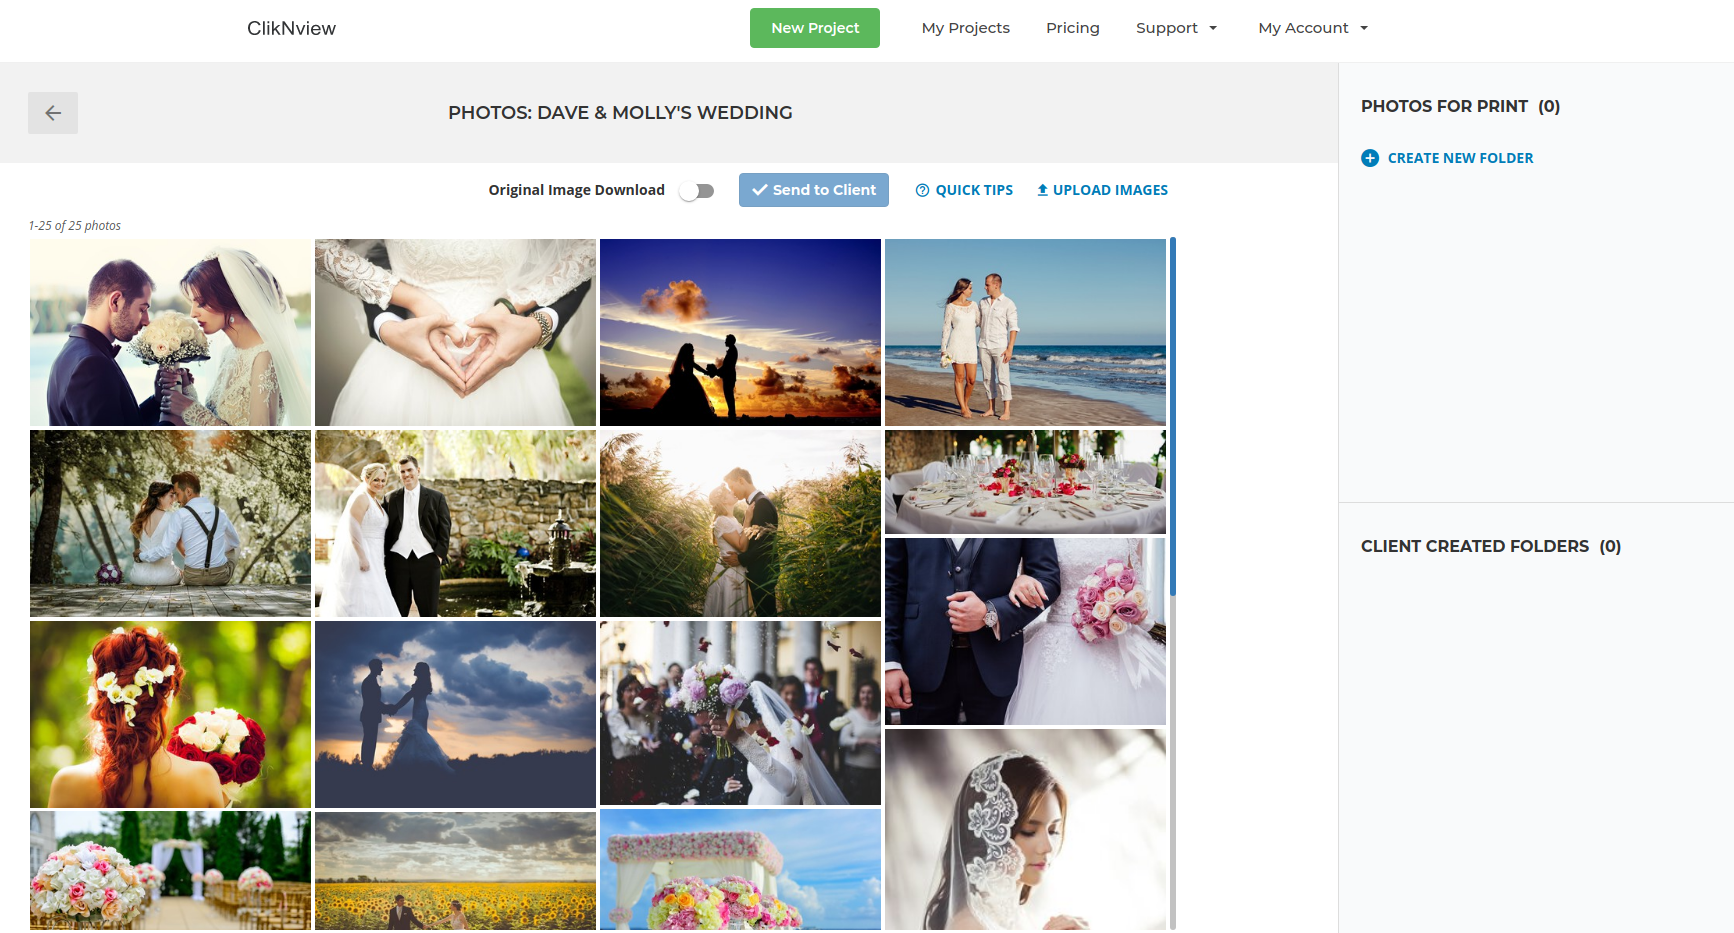
At the end of this step, your photos should all be uploaded, processed, and ready to go. The screenshot below shows what the page looks like at this stage. Note that you can continue to upload more photos if necessary using the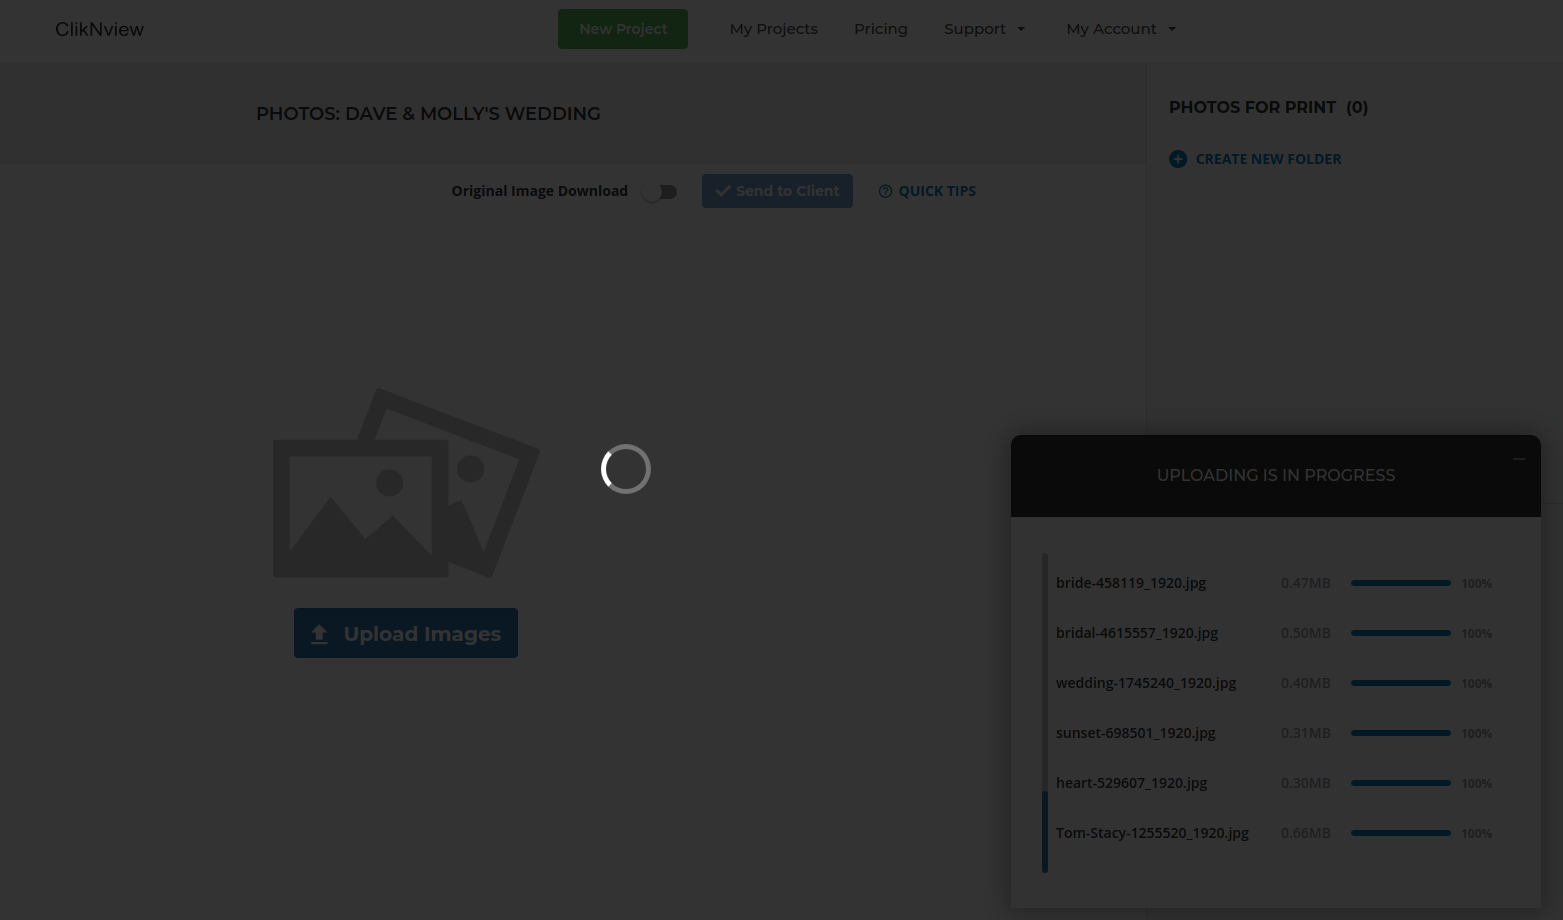 button, which has moved to the area above the photos.
-
Specify exactly what you need from your client by creating a set of descriptive folders. To do this, click the
button in the PHOTOS FOR PRINT section in the right margin.
 Select one of the predefined sizes for print (e.g. 11"x14") or select Other and enter a description of what the folder represents. Also enter the number of photos you need your client to select for this folder. Note that this number cannot be greater than the total number of photos you've uploaded.
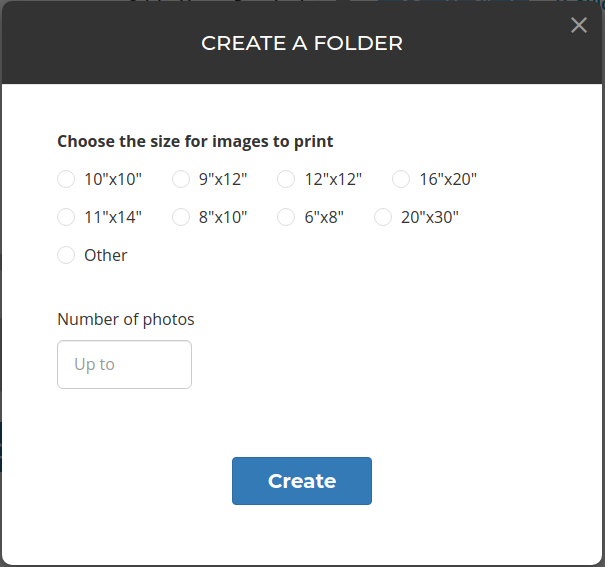
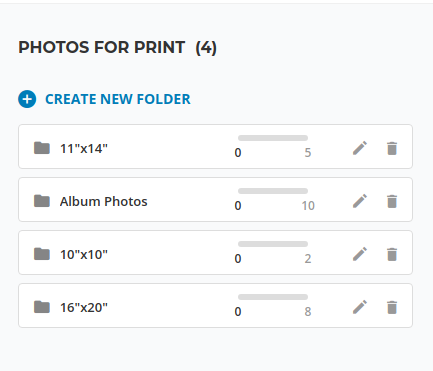
Follow these steps to create as many folders as you need your client to populate. After finishing this step, the PHOTOS FOR PRINT section of the page will have the list of all folders you've created.
-
The next area you want to focus on is two of the buttons above the photos.
You'll notice that the
 button is now active. You can use it to send the photos to your client along with the folders for them to populate. However, before doing this, consider the Original Image Download toggle button to its immediate left. Turning this on means your client can download original quality images. If the button is toggled off, your client will only be able to download a lower quality image.
When sending the request for photo selection to your client, you will see a popup that allows you to specify a deadline (between 3 days and 6 months). Your client will periodically be sent reminders to make sure they submit the selected photos by the deadline. Note that this is a soft deadline, meaning they can still submit the selections after the deadline has past.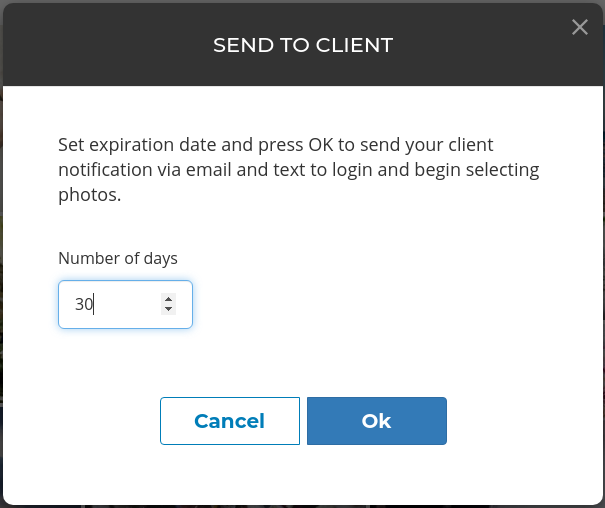
Your client will be notified via email and/or text message to proof the photos. When they are done, they will finalize their selections and you will be notified via email.
Album Layout Review
Content will be added soon.
Digital Delivery
Content will be added soon.