Clients
Accepting Invitation, New Client
Content will be added soon.
Accepting Invitation, Returning Client
If you’ve already logged in as a client on ClikNview with another project, then in order to access the project for which you’d like to view the videos and photos, your cinematographer or photographer must send the request to you first.
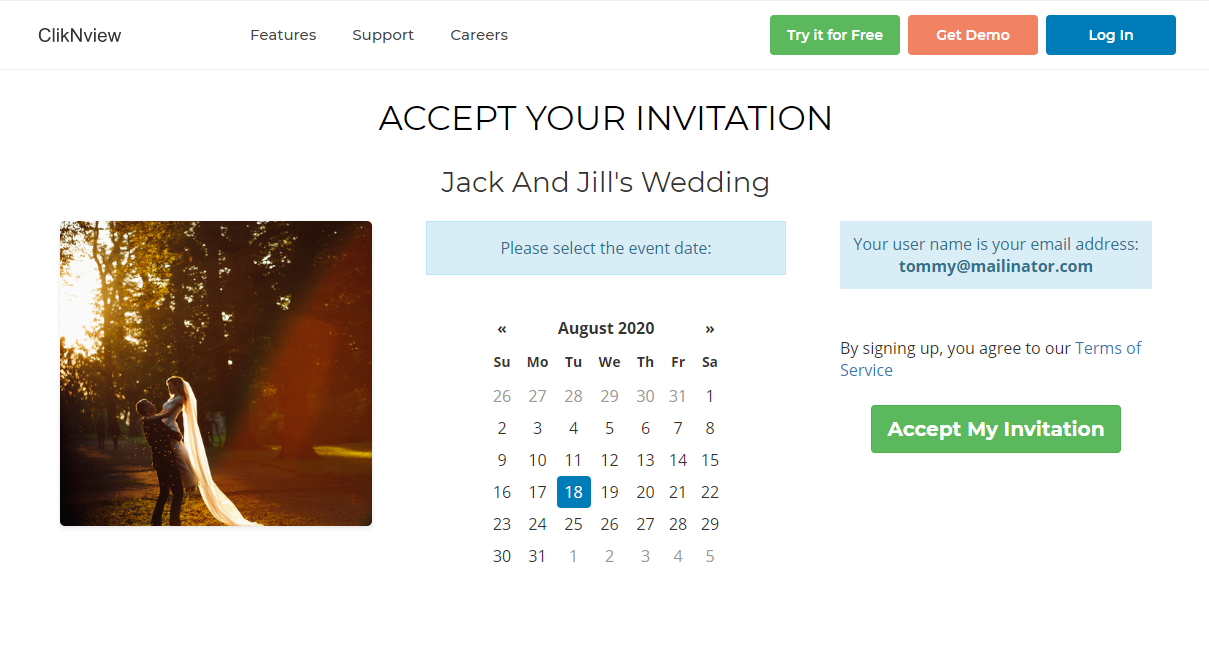
- From the invitation email click on "Login".
- Verify your wedding or event date.
- Ensure that your email address is correct.
-
Click on "Accept My Invitation".
Uploading Requested Media
Overview: If your cinematographer has requested photos, videos, or music from you to add to your event video, then you can follow these steps to use ClikNview’s Media Request upload tool to send over the files quickly and securely.
- Log into your account.
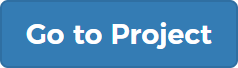
- Find your project and click on the blue "Go to Event" button.
- Click on the green "Videos" button.
-
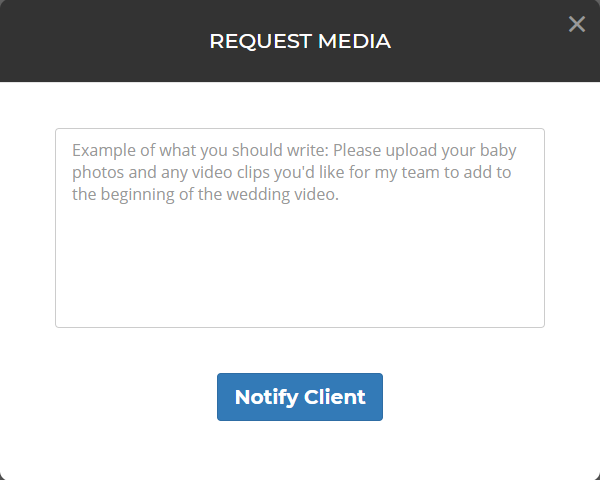
Here you can see the message that your cinematographer has sent (i.e. "Hey, please upload some photos and video clips of when you guys were babies"), and you can begin uploading one or more files by clicking on "Upload".
-
Once you have finished uploading all desired files, click on
to notify your cinematographer that you are complete.

Please note that you can return to the "Videos" page at any time to continue adding more media files, or to delete or download the existing files you have uploaded. To download a file, click on the icon. To down delete a file, click on the icon.
Please note that your cinematographer has to send the request to you before you are able to upload the photos, videos or music. You will be notified via email of this request. If your cinematographer has NOT requested media from you prior to sharing the video, then you have the option to add the photos, videos, or music at the desired scenes directly from the videos page.
Reviewing Draft Video
Overview: ClikNview’s Video Review tool allows clients to provide edit notes to cinematographers for the final cut of the event video. Often times cinematographers will provide clients with the draft version of the video, also called the "edit version," so that they can provide edit notes for the cinematographer to implement. This can include annotations, scene deletions, addition or modification of music, addition of video clips, addition of photos.
You may start reviewing and adding notes once you receive the email confirmation from your cinematographer that all videos have been uploaded.
- Log into your account.
-
Select the event by clicking on the
button.
-
Click on the
button.

-
Watch the video by using the play button.
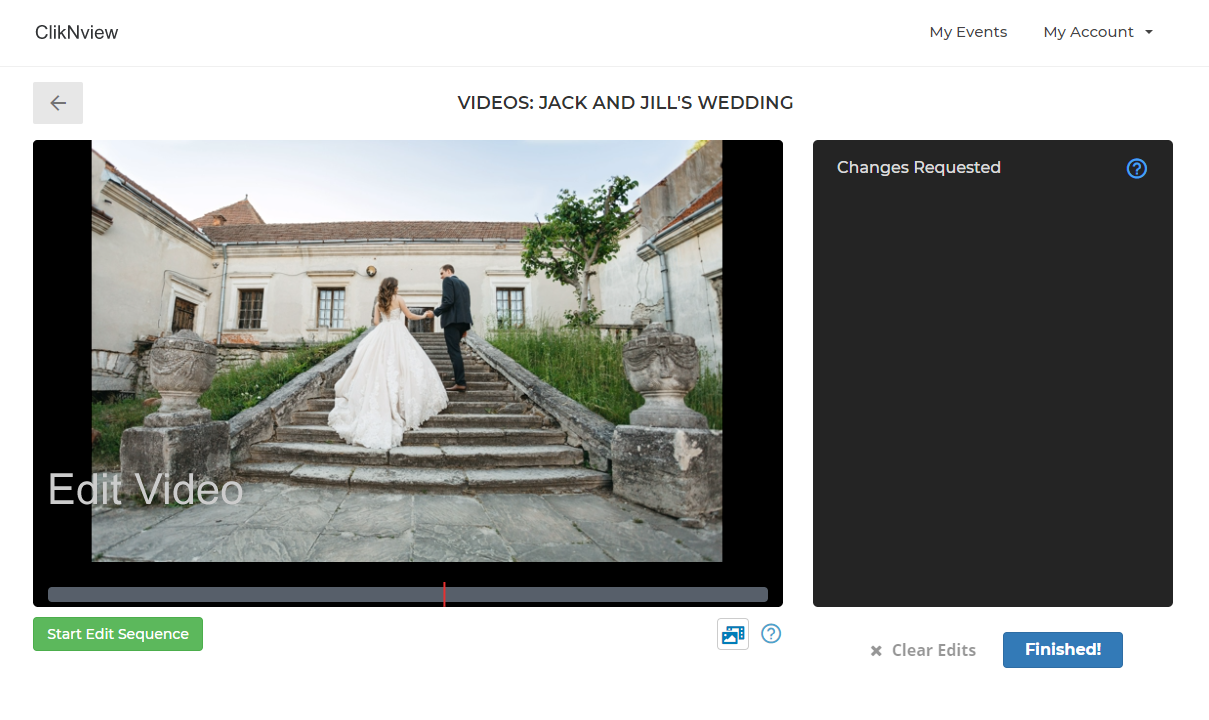
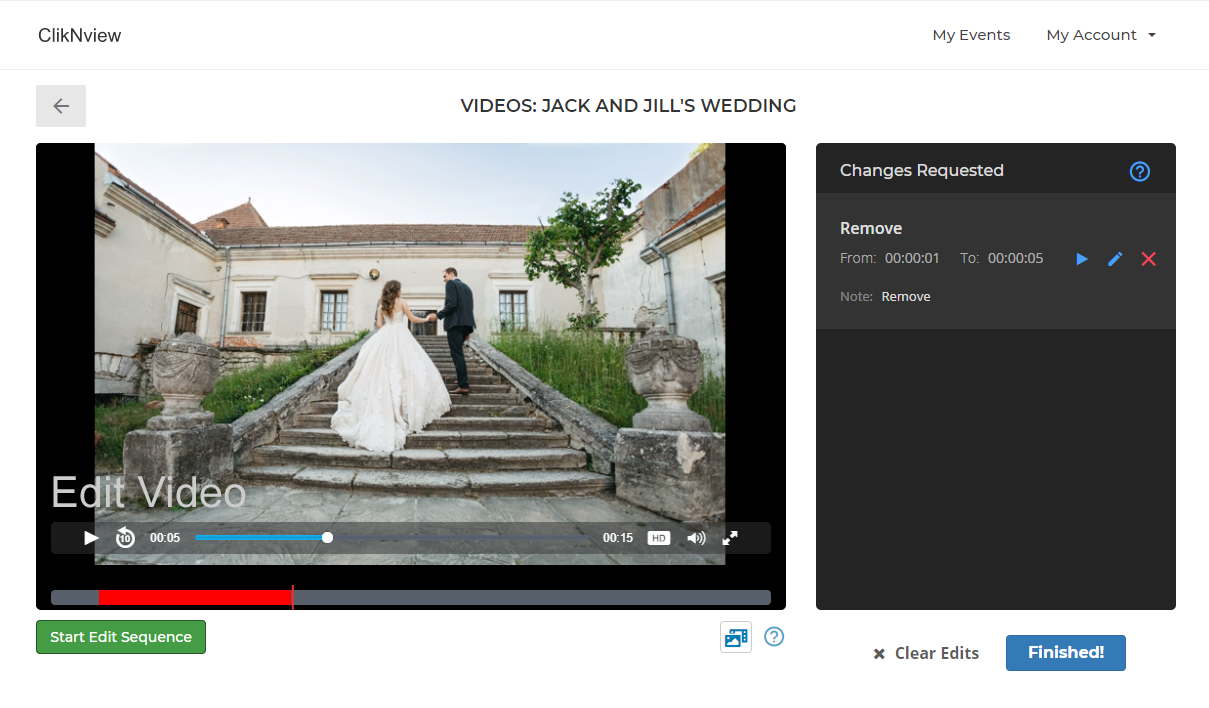
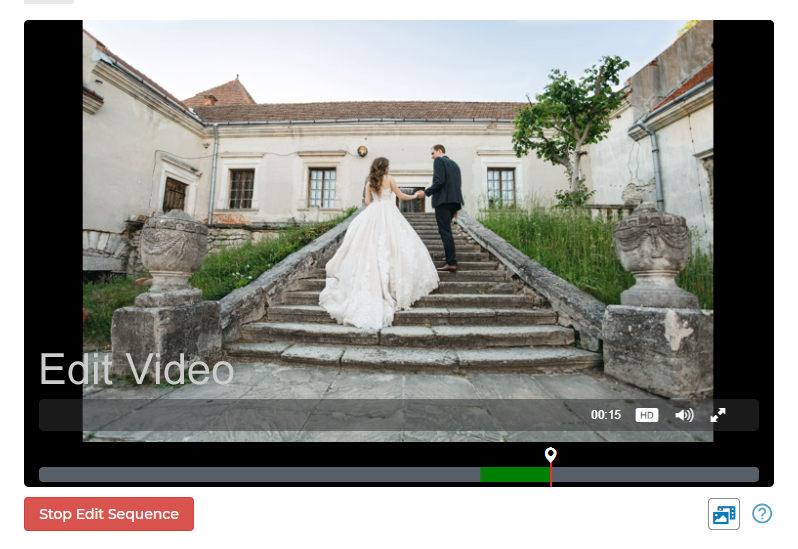
Creating "Edit Sequence"
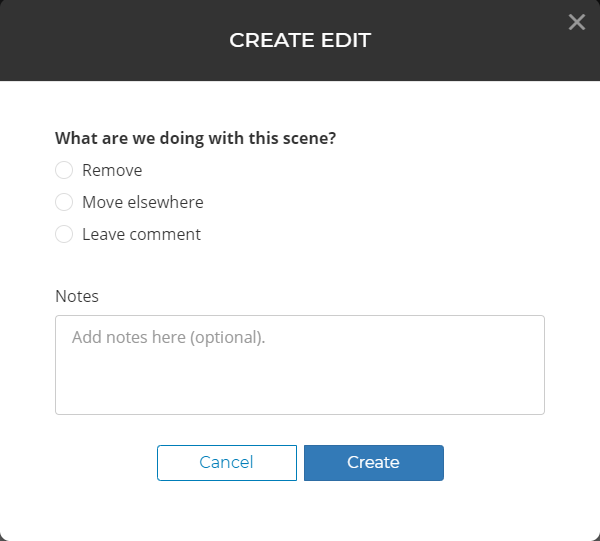
Overview: The "Edit Sequence" feature allows users to highlight portions of the video for which they would like to leave notes. This is often used for clients that want a particular scene removed, moved to a different time in the video, or to provide other notes for that selected scene. The portion of the video that is selected is called the Edit Sequence.
-
When the video reaches the desired scene you’d like to start highlighting, click on

-
Click on
when the video has reached the end of the scene that you’d like to highlight. You can modify the exact start and stop times after creating this edit sequence.
-
Select one of the options from the popup menu, and leave notes if you’d like.
-
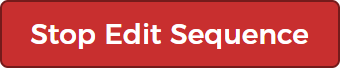
Click on the
button.

Modifying "Edit Sequence" Timestamp
Overview: This section provides instructions on how to modify the start and stop times of the edit sequence that has already been created.
- From the right sidebar find the desired edit sequence you’d like to modify and click on the icon.
-
You can input the exact numbers for the hours, minutes, and seconds of the start and stop time.

-
Once finished, click on the
button.

Playing "Edit Sequence"
Overview: You can play the edit sequences that you’ve created by following the instructions below:
- From the right sidebar find the desired edit sequence you’d like to play and click on the icon.
It will play the entire highlighted scene and will stop at the stop point of the edit sequence.
Deleting "Edit Sequence"
Overview: You can delete the edit sequences that you’ve created by following the instructions below:
- From the right sidebar find the desired edit sequence you’d like to delete and click on the icon.
-
Click on the
button from the popup.

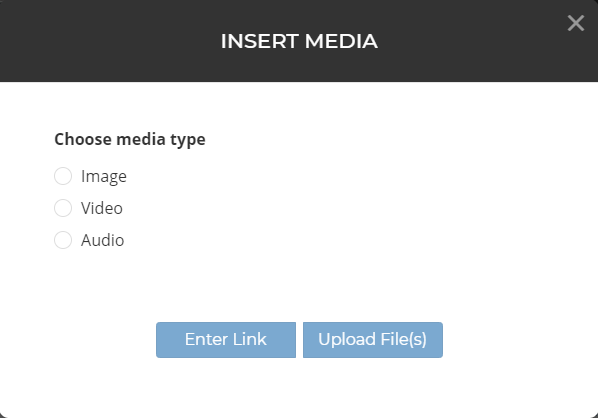
Adding Media
Overview: You can upload or attach a link to videos, photos, or music that you’d like added to your video at any point. Follow these instructions to upload a file or attach a link:
Uploading Videos, Photos, or Music
- At any point in the video, paused or while it’s playing, click on the button found on the bottom right side of the video.
-
Select Image, Video, or Audio.
-
To
upload a file
,click on the
button.

-
On the following popup, click on the
button to select the file.
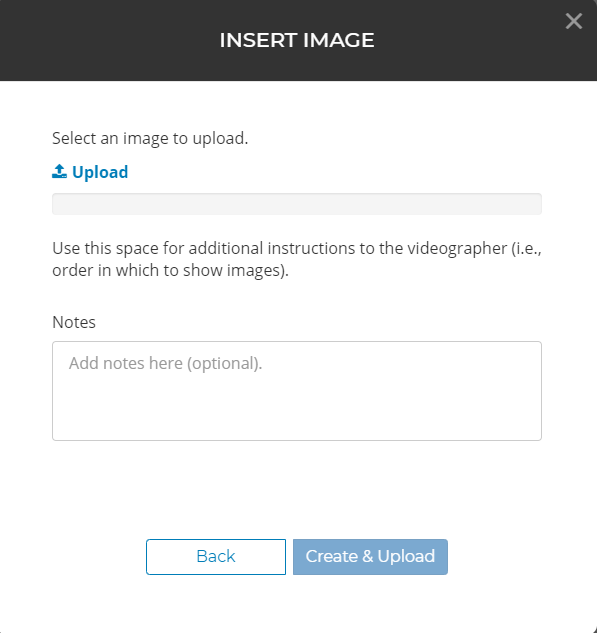
-
Once file is selected and an optional note has been inputted, click on the
button.
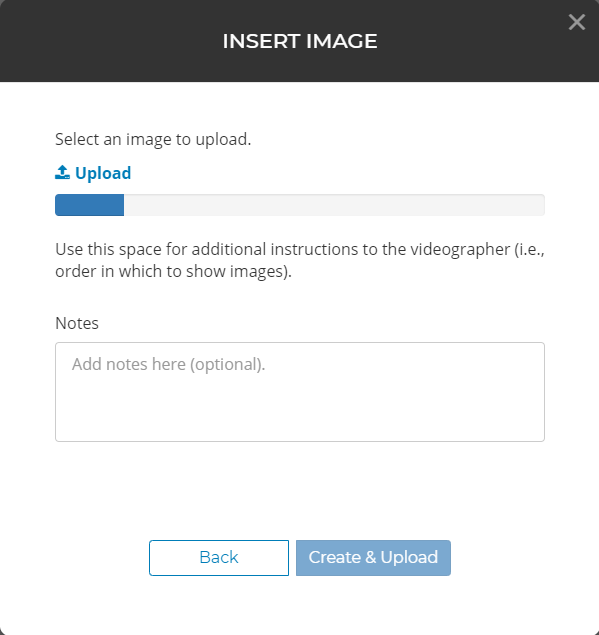
The progress bar will show that the file is being uploaded as shown below:
- At any point in the video, paused or while it’s playing, click on the button found on the bottom right side of the video.
- Select Image, Video, or Audio.
-
Click on the
button.
-
Type or paste the link:
- Add a note (optional).
-
Click on the
button.

Adding a Link to Videos, Photos, or Music
A pin will appear on the edit timeline, showing you where this added video, audio, or photo file/link was.
Viewing or Deleting Media
Content will be added soon.
Project Dashboard
Content will be added soon.
Adding a Second User
Content will be added soon.